PRODUCT·JULY 15, 2026
Windows screen recording for launch videos that don’t look raw
Display, window, and tab capture on PC, plus auto polish, so Windows teams ship cinematic product demos without a Mac-only tool.
Screen Beaver Team·10 min read
A launch video recorded on Windows shouldn't look like evidence from a support ticket. The rough quality people associate with PC screen capture usually comes from an unplanned desktop, tiny interface text, frantic pointer movement, and no edit after the red button stops. None of those problems are inherent to Windows. We've seen immaculate 4K captures feel careless and modest laptop recordings feel premium because the latter had a clear story. Screen Beaver combines display, window, browser, and Android USB capture with a focused demo studio, so teams can record where they already work and still produce a deliberate launch asset.
Choose the smallest capture source that tells the story
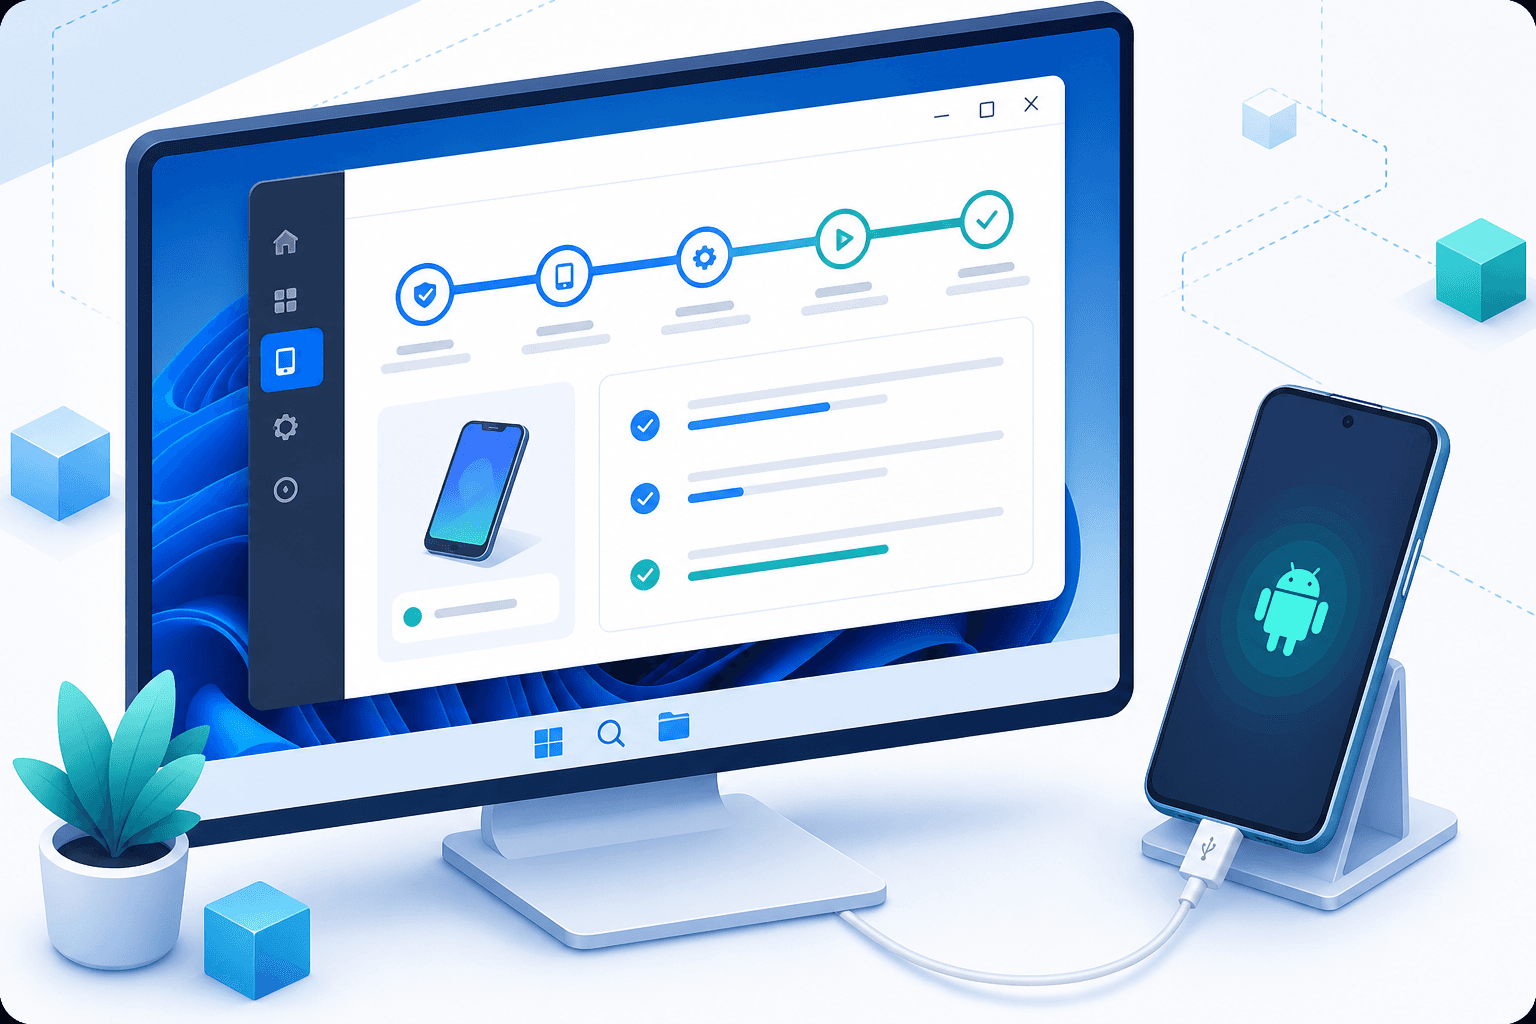
Record the full display when the workflow genuinely crosses applications, such as exporting a file from a desktop app and attaching it in a browser. Otherwise, a single window reduces visual clutter and the risk of exposing notifications or unrelated tabs. Browser-focused capture is a good fit for SaaS flows because the product can fill the frame. Android USB belongs in the same project when the launch story moves to a phone. Pick based on the viewer's task, not on which option sounds most comprehensive.
Resolution and scaling need a quick test. Windows display scaling can make text comfortable for the presenter but surprisingly small after a 4K desktop is reduced to a 1080p video. Increase the app's own zoom or capture a tighter window rather than expecting post-production punch-ins to rescue every label. Record ten seconds, export it, and view the file at the size it will occupy on the launch page. A technically sharp recording can still be functionally unreadable.
Clean the stage before the take
Turn on Do Not Disturb, hide desktop icons if the display will be visible, close personal apps, and use a separate browser profile. Populate the demo workspace with intentional names and data. “Untitled Project 7” weakens a launch more than people expect because it signals that the story was assembled at the last minute. Set the app window to its final size and don't resize midway through the recording. Consistent geometry makes auto zooms and later edits much cleaner.
- Use a dedicated demo account with believable, non-sensitive data.
- Disable notifications, updates, sleep timers, and anything likely to interrupt capture.
- Rehearse the pointer path and wait briefly after each important result appears.
- Keep the final call to action visible long enough to read without pausing playback.
Record in scenes instead of chasing one perfect take
A two-minute flawless walkthrough sounds efficient and often produces twenty minutes of retries. Break the story at stable states: the opening problem, setup, core action, result, and final invitation. Smaller takes are easier to repeat when a test API stalls or the cursor slips. They also let you tighten pacing without hiding a jump in the middle of motion. Keep account state consistent between scenes, and write down values such as workspace names so the viewer doesn't see Acme become Beaver Labs halfway through.
If narration is part of the plan, decide whether to speak during capture or add it later. Live narration can feel warm and naturally paced, but a verbal mistake may force a visual retake. Post-recorded voiceover gives more control and makes localization easier. Screen Beaver captions can carry mute-first viewing, while Edge TTS offers a practical option for consistent tutorial or localized tracks. Human voice is still preferable when personality is the campaign's point. This is a production choice, not a contest, and mixing both approaches across a launch kit is perfectly reasonable.
Let auto polish create the first edit
After capture, auto zoom can identify interaction points and give dense interfaces a clearer visual path. Pointer polish reduces the tiny corrections that make raw mouse movement feel nervous. Neither should be accepted blindly. Remove punch-ins that repeat too quickly, keep the cursor away from text after it clicks, and trim waits that no longer serve the narration. Add scene effects and SFX sparingly. One click on the decisive action or a quiet whoosh into the result is usually enough.
For repeatable feature demos, an MCP-capable agent can work through @screenbeaver/mcp while Screen Beaver records on Windows. That's useful when the same approved flow must be rebuilt after each release. Give the agent a constrained test environment and an exact brief, then review its timing like any other take. Automation removes manual clicking; it doesn't know which moment will persuade a skeptical buyer or which unexpected customer name shouldn't appear on screen. A repeatable path is valuable, but a stale script can reproduce last month's mistakes with impressive consistency.
Finish for the place where the launch will actually happen. Add captions, check audio, and use a custom background only if it improves framing. Export the H.264 MP4 locally, then test that rendered file in the actual page, deck, or social upload—not only in Screen Beaver's preview. Look for gradient banding, blurry small text, clipped captions, and audio that's too quiet on laptop speakers. Watch once with sound off and once on a phone. Keep a high-quality master for future crops and create lighter delivery files as needed. Windows supplies everything required for a polished launch video; the difference is a workflow that treats recording as the start, not the finished product.