GUIDE·JULY 30, 2026
Timeline editing without a full NLE | demos that stay shippable
Split, trim, regenerate zooms, and keep captions attached, a product-demo timeline that doesn’t pretend to be Premiere.
Screen Beaver Team·9 min read

Most product demos don't fail because the editor lacks cinematic color wheels or a hundred transition packs. They fail because a two-minute walkthrough becomes a half-day editing project, then misses the release it was meant to support. A general-purpose NLE can do almost anything, but that power brings tracks, nested sequences, media bins, proxies, and settings that a founder shipping a feature may never need. Screen Beaver's timeline is narrower on purpose: trim the take, shape attention, add readable context, and produce a video that can actually leave the building.
Edit the story before polishing the pixels
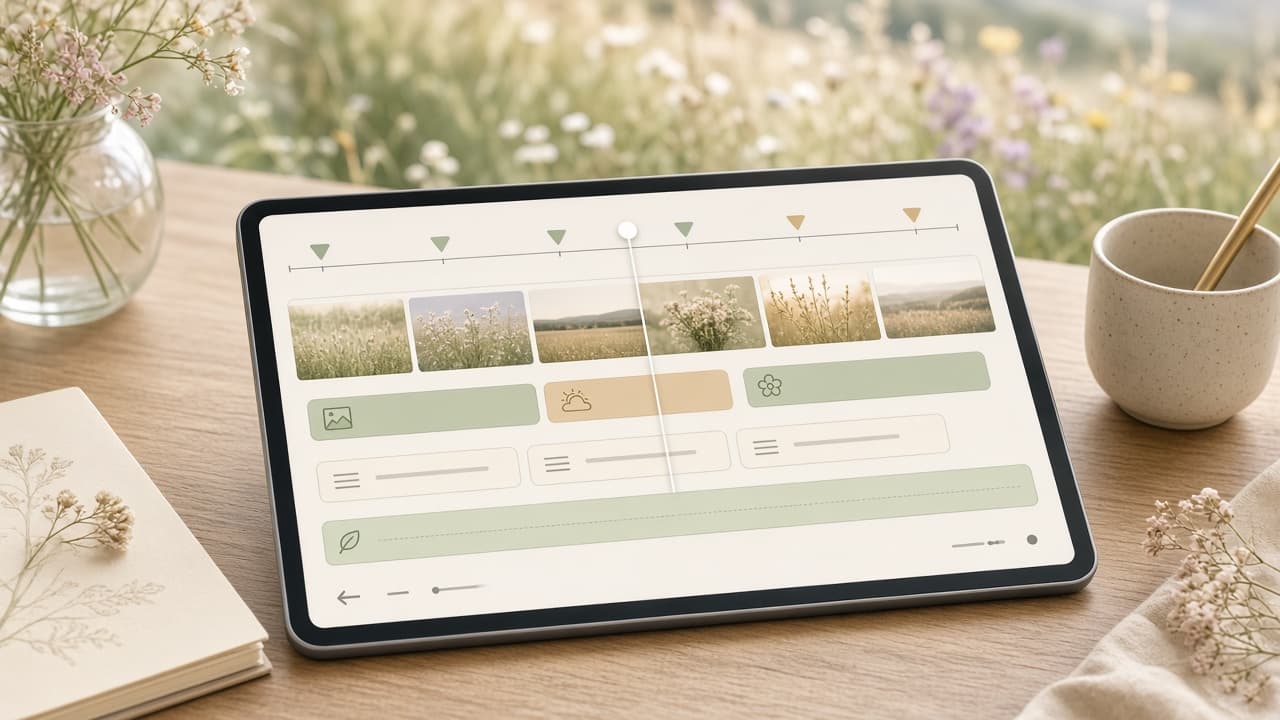
First, remove anything that doesn't advance the viewer: login delays, cursor hunting, repeated clicks, and the awkward second before you remembered what to say. Then check the order. A clean recording of a confusing story is still confusing. We often move the result earlier—show the generated report, then explain the three steps that produced it. Even when the timeline doesn't support every elaborate rearrangement an NLE does, splitting the flow into purposeful scenes makes the next decisions much easier.
Use the playhead to find natural boundaries: a page load, modal close, or short pause after a completed task. Splitting in the middle of cursor movement creates a visible jump, while cutting during a stable frame is easy to hide. Leave a little breathing room around important results. Product teams tend to edit too aggressively because they already know the interface. A first-time viewer needs another beat to locate the success message and understand what changed.
Treat zooms as editable decisions
Auto zoom gives a useful first pass by following meaningful interactions, especially in a dense desktop interface. It will occasionally emphasize something that doesn't deserve it or place two punch-ins too close together. Delete those markers. Regenerate when the interaction data changed, and adjust the remaining moments around the story rather than preserving automation out of loyalty. A zoom should answer “where should I look now?” If the answer is already obvious, a stable frame is calmer and often more premium.
- Trim dead time before fine-tuning captions or effects.
- Split on stable frames and give outcomes enough time to be read.
- Keep auto zoom markers that clarify the action; remove the decorative ones.
- Review captions, voiceover, and SFX after structural edits so timing stays honest.
Keep dependent elements with the cut
Captions, Edge TTS voiceover, pointer polish, and sound cues all depend on timing. If you perfect them before removing a six-second loading state, you'll redo the work. Lock the broad cut first, generate or revise the transcript, then add small effects. Screen Beaver keeps these product-demo elements in the same working timeline, which makes cause and effect visible. You can see that a caption covers a button or that a click sound lands after the modal has already opened.
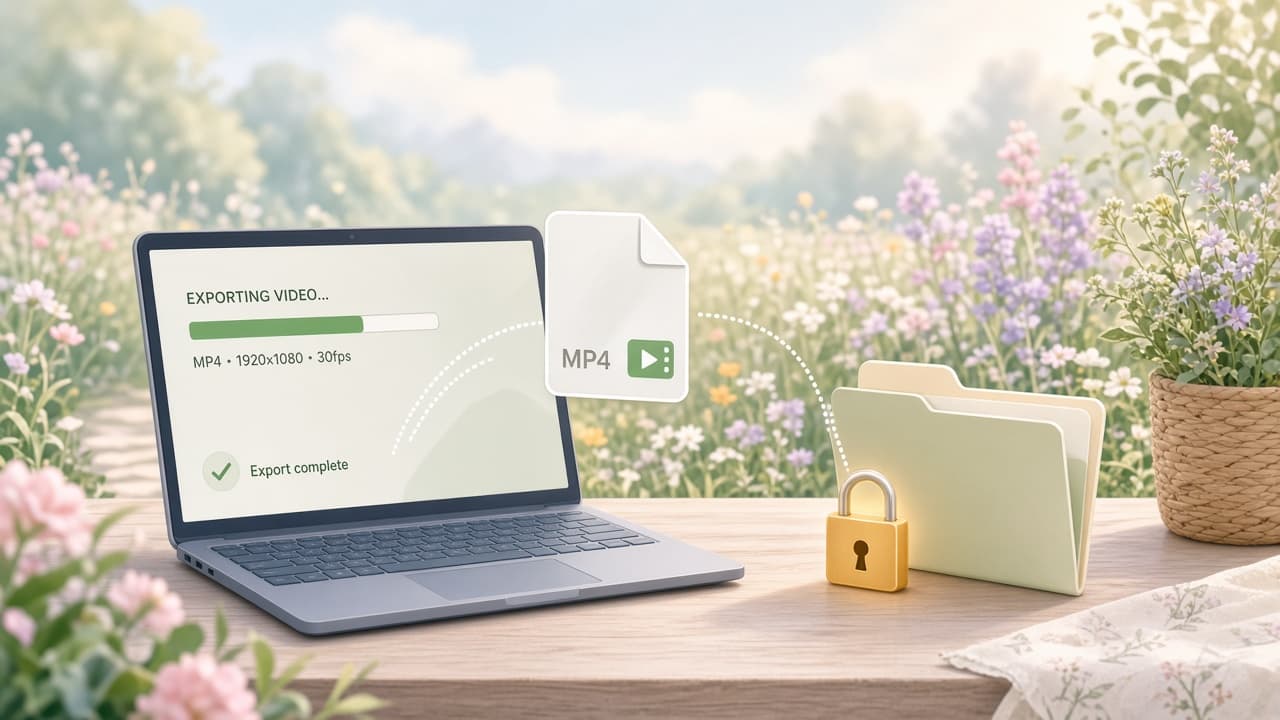
This focused model has tradeoffs. If you need multicamera interviews, advanced audio repair, compositing, or frame-by-frame animation, use a full NLE. Pretending a demo editor replaces one would only make both tools worse. A practical workflow is to finish the screen sequence in Screen Beaver, export a clean local H.264 master, and bring that file into the larger production when the campaign genuinely needs it. Many release notes, onboarding clips, and sales updates never do.
Versioning is simpler when the project stays small, but it still needs a rule. Duplicate the project before a major structural revision and label exports by purpose, not by emotion: `onboarding-web-v3.mp4` is more useful than `final-really-final.mp4`. Keep the approved script or beat list beside it, especially if @screenbeaver/mcp will repeat the walkthrough later. Don't preserve every failed take forever. Once the launch is approved, retain the source needed for likely updates, the clean master, caption files, and final delivery versions. A tidy project makes the next revision feel like editing instead of archaeology.
Make revisions cheap enough to accept
Product UI changes constantly. The pricing label moves, onboarding gains a step, or yesterday's beta badge disappears. A forty-track composition encourages teams to keep stale footage because rebuilding feels expensive. With a compact demo timeline, rerecord the affected flow, restore the few intentional zooms and captions, and export again. An MCP agent using @screenbeaver/mcp can help repeat a scripted walkthrough, though the new take still deserves a human review for changed states and pacing.
Before shipping, watch the exported file from beginning to end without touching the controls. Check the opening promise, every cut, caption timing, audio balance, and the final call to action. Then stop. Editors can always find one more frame to shave, but viewers rarely reward invisible perfection in a two-minute feature demo. The useful timeline is the one that preserves enough control to make the story clear while keeping the route to a finished MP4 short.