STUDIO·AUGUST 8, 2026
Pointer polish that guides the eye | without looking like a laser pointer
Soft highlights, smooth motion, and intentional trails so viewers always know where to look in a product demo video.
Screen Beaver Team·8 min read
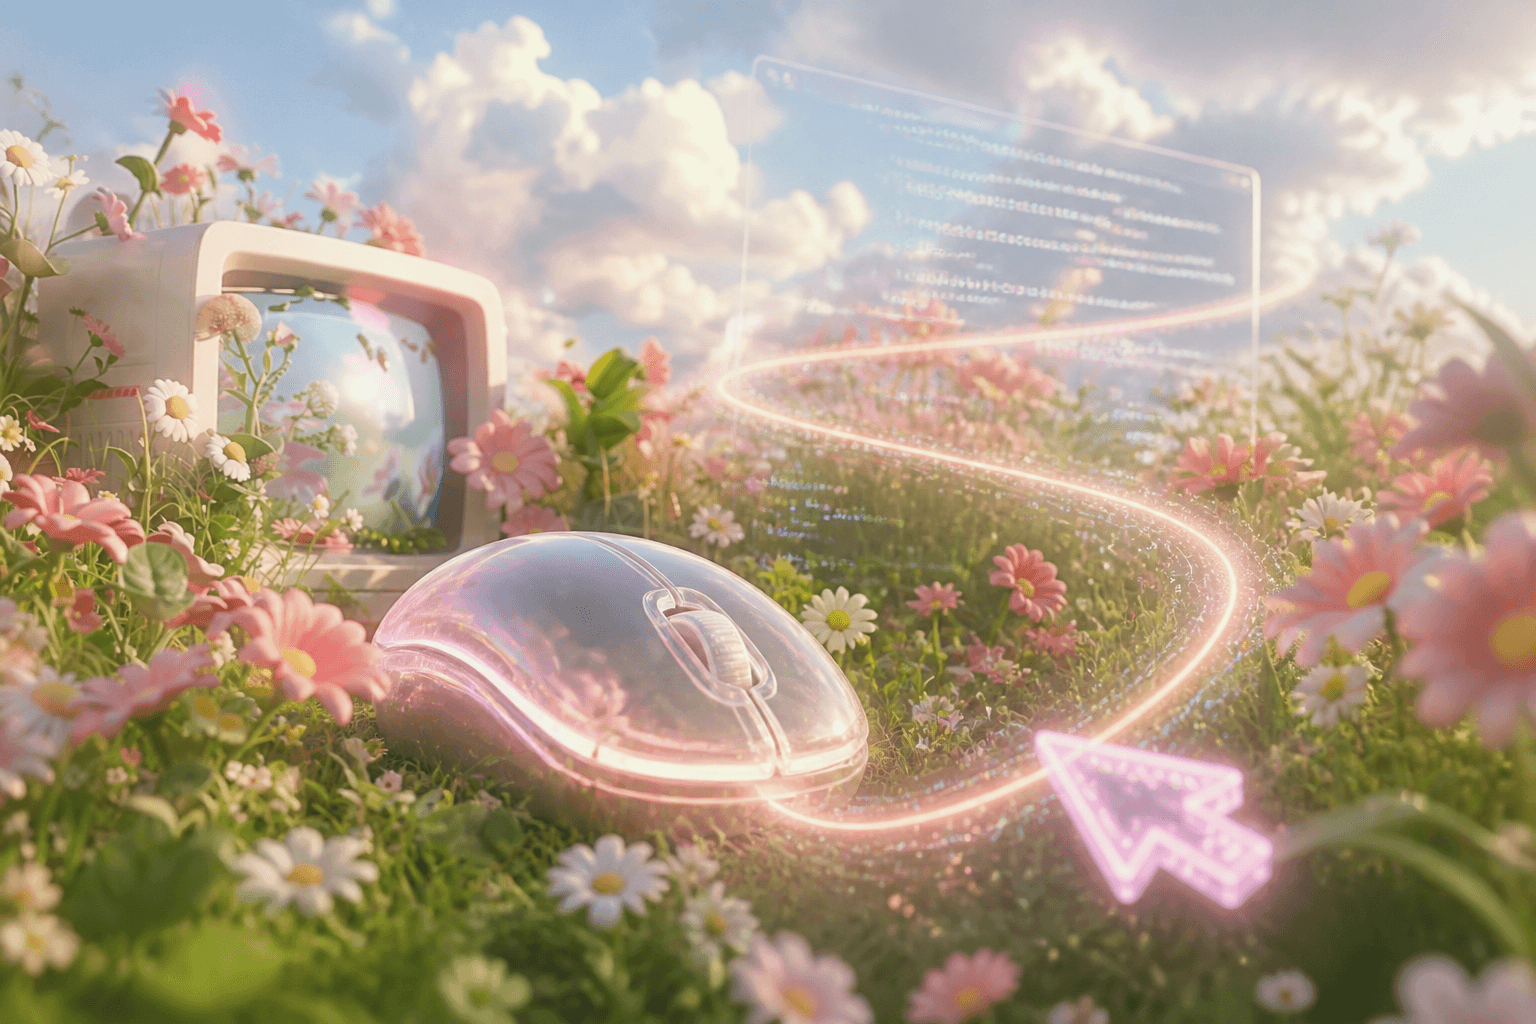
The pointer is the smallest actor in a product demo and often the most distracting one. Raw recordings preserve every hesitation: circling the wrong menu, overshooting a button, and wobbling while the narrator thinks. We've also watched edits that “fixed” this with a giant neon halo, which was harder to ignore than the feature. Hiding the cursor entirely isn't much better because the viewer loses the connection between action and result. Good pointer polish sits between those extremes. It guides attention with smooth, readable movement, then gets out of the way before it starts performing its own show.
Record deliberate movement first
Editing can smooth a path, but it can't always infer what you meant. Start with the cursor parked somewhere neutral, move once toward the target, and pause for a fraction of a second before clicking. That pause helps the audience identify the control and gives auto zoom a clean beat. Don't narrate one feature while wandering over another; people follow motion before they finish processing speech. If you miss the target badly, repeat the step. A second take is cheaper than disguising a confused gesture with three effects.
Mouse sensitivity matters more than most demo checklists admit. A very fast pointer makes a short trip across a dialog look abrupt, while a very slow setting turns navigation into dead air. Choose something comfortable and test it at the capture resolution. Trackpads tend to produce small corrective movements, so an external mouse may be easier for long flows. None of this needs to become a ritual; the aim is simply to create input that Screen Beaver can polish without inventing a path you never intended.
Use highlights as punctuation
A soft ring or click pulse answers a useful question: “Where did that action happen?” It doesn't need to remain visible while the viewer reads the result. Keep the highlight large enough to notice but transparent enough that the label beneath it stays legible. Bright brand colors can work on a dark interface and disappear on a matching button, so test the hardest scenes. A subtle neutral treatment is less exciting in a style panel and often looks better across an entire video.
- Highlight primary clicks, not every hover and harmless navigation step.
- Keep trails short; a long tail makes quick corrections more obvious.
- Let the pointer settle before a tooltip or menu needs to be read.
- Move it away from captions, totals, and other text after the action lands.
Coordinate pointer motion with zooms
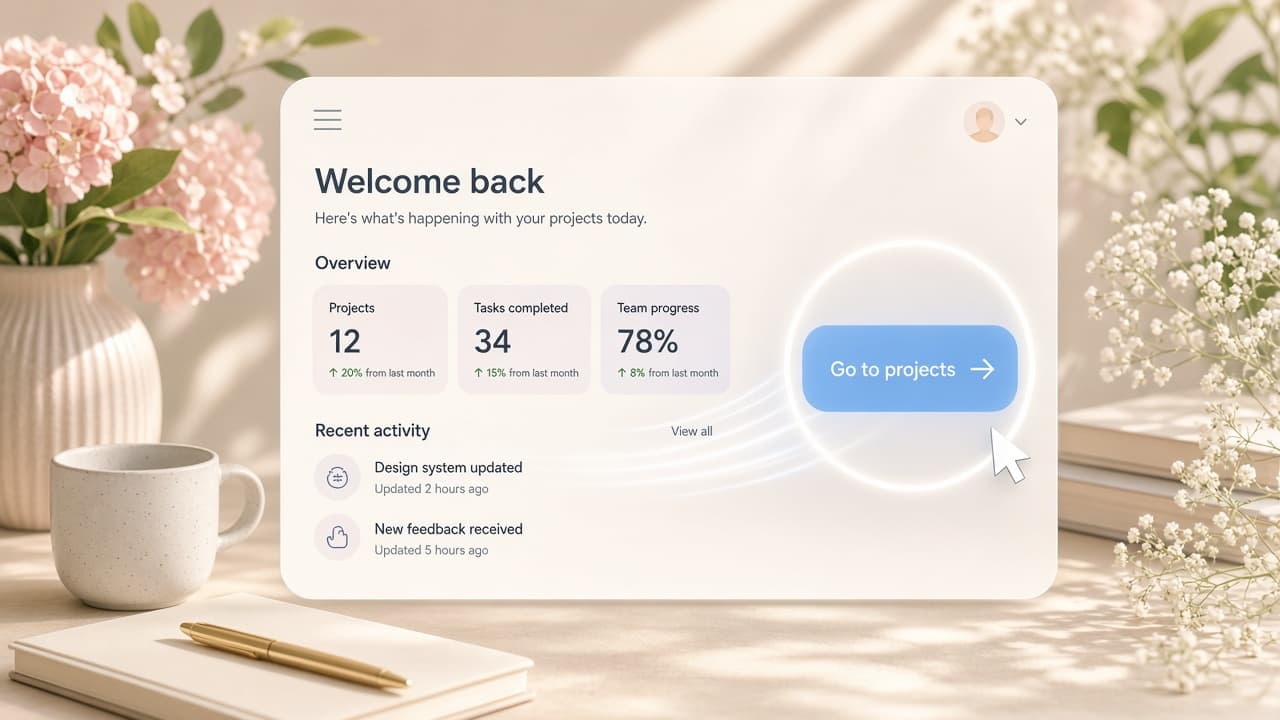
Pointer smoothing and auto zoom should describe the same beat. If the frame punches in before the cursor arrives, viewers search the enlarged area and miss the action. If the pointer clicks and the zoom follows late, the emphasis feels like a correction. In Screen Beaver, review those elements together on the timeline. Shift or remove a zoom when it fights the gesture. The best sequence usually has a simple rhythm: move, settle, zoom, click, reveal. It feels natural even though it has been carefully shaped.
There are cases where no pointer is the right choice. A title card, a passive dashboard overview, or a scene showing an automated process doesn't need a cursor parked in the corner. Move it off the meaningful content or hide it for that section. Conversely, keyboard-driven demos may need a brief pointer introduction so the audience knows which field has focus. Consistency doesn't mean forcing one treatment onto every scene; it means making each choice look intentional.
Pointer scale deserves a destination check too. A normal Windows cursor can become tiny when a 4K capture is reduced inside a 1080p launch page, while a cursor enlarged for vertical social video may look cartoonish in a full-screen help article. Make one short export at the real delivery size before polishing a long timeline. Check light and dark screens, disabled controls, and menus near the frame edge. Screen Beaver can smooth and highlight the path, but contrast still changes scene by scene. One restrained preset is a good baseline; forcing it onto every crop and background isn't consistency, it's avoiding the review.
Automation still needs a human pass
An MCP-driven walkthrough can perform repeatable clicks while Screen Beaver records them, which is useful when a demo must be rebuilt after a UI change. Automation tends to be precise, but precision can look unnaturally fast. Add enough dwell time for a person to understand the screen, and check that the agent didn't cross a modal or tooltip on the way to its target. Keep the generated path when it reads well; edit it when it doesn't. Repeatability is the benefit, not an excuse to remove judgment.
Watch the finished cut once without sound. If the pointer alone makes the flow understandable, the visual guidance is doing its job. Then watch at normal size rather than zooming into the preview, because oversized highlights can feel reasonable in an editor and clumsy in the exported H.264. Screen Beaver gives you control over pointer treatment alongside captions, effects, and zooms. Use that control lightly. Viewers should remember where the product took them, not the glowing dot that led the way.